AOI Info and Scenes
After creating an AOI (Area of Interest), you will be directed to the AOI screen, where there are numerous things we have made for you. Additionally, a background process of asset generation runs, and you can track its progress in the activities tab. Once the asset generation process is complete, you will be able to access the AOI along with other features. The AOI Screen will look something like the image below:
Let’s discuss each button and feature on the AOI screen.

AOI info
The AOI info tab will provide all the basic to advanced information required to understand the AOI. It will tell you everything, from the number of tiles to the date range you selected to create AOI. You can refer to this section if you either want a quick summary of AOI details or want to download the AOI boundary (GeoJSON format).

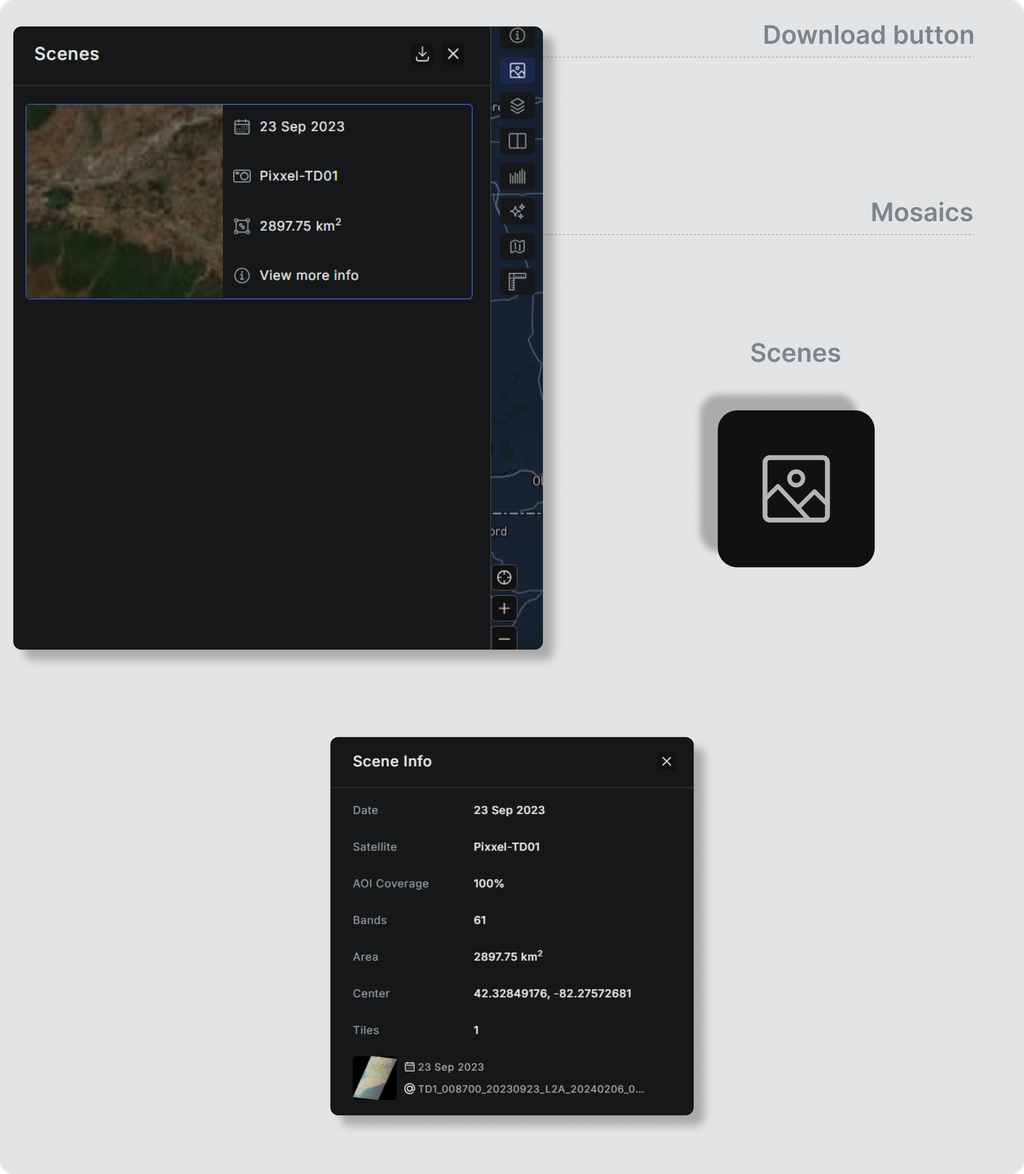
Scenes
This is the go-to place if you want to download the assets that are being used in the AOI analysis. You can find all the mosaics created for each date separately and by clicking on a particular scene, you can visualize that mosaic on the AOI.
Additionally, these mosaics can be downloaded in the .geotiff format by simply clicking on the download button on each mosaic.
Scene Info: These are additional details like AOI coverage, Center, Bands, etc that can be useful to know more about the AOI.